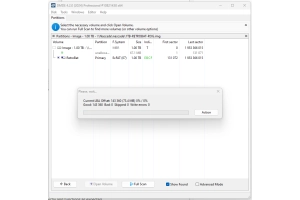
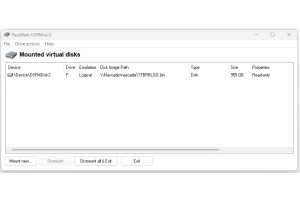
How to EXTRACT .IMG / .BIN using OSFmount (Best Method)
How to Mount a .IMG or .BIN File Using OSFMount
Step 1:
Download and Install OSFMount
Download OSFMount
Go to the official OSFMount website.
Click Download and save the installer to your computer.
Install OSFMount
Run the installer and follow the setup wizard.
Accept the license agreement and choose default settings unless you need custom installation options.
Step 2:
Open OSFMount
Launch OSFMount from your Start Menu or Desktop Shortcut.
Start the Mounting Process
In the OSFMount window, click Mount.
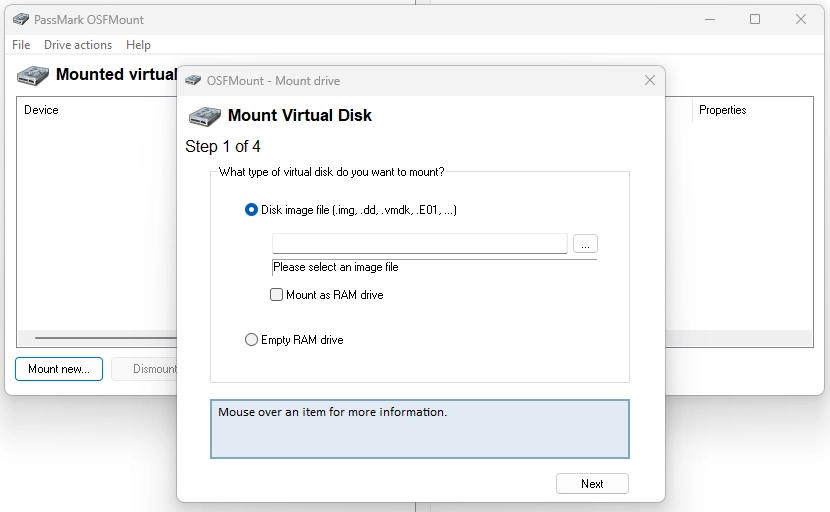
Step 3:
Select the Image File
In the dialog box:Click Browse next to the Image File field.
Locate your .IMG or .BIN file and click Next.
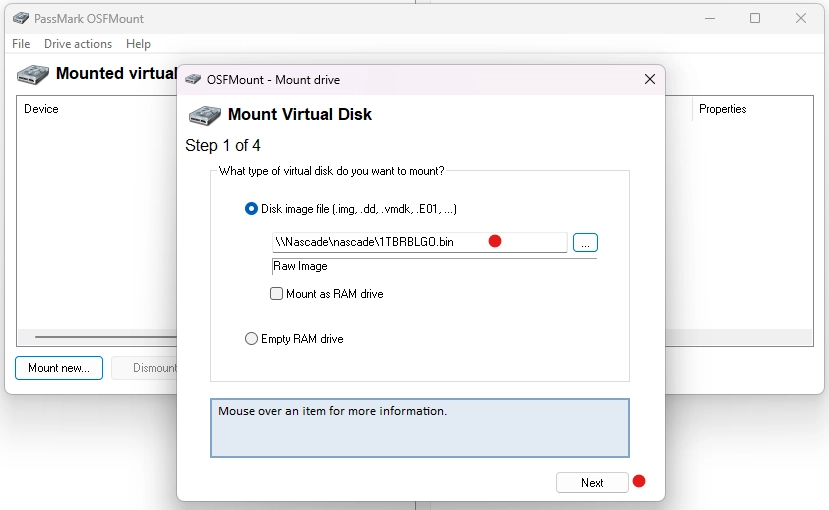
Step 4:
Configure the Mount Settings
Partition Selection:If the file contains multiple partitions, select the one you want to mount.
Assign Drive Letter:Either choose a specific drive letter or let OSFMount assign one automatically.
Set Mount Type:Select Read-Only Drive if you don’t want to modify the contents.
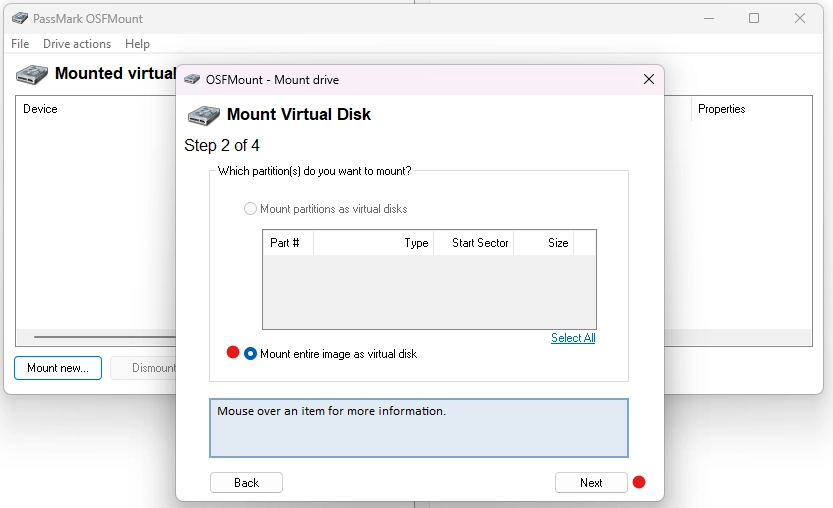
Step 5:
Mount the Image
Once all options are set, click Mount.
OSFMount will mount the file as a virtual drive, and it will appear in File Explorer.
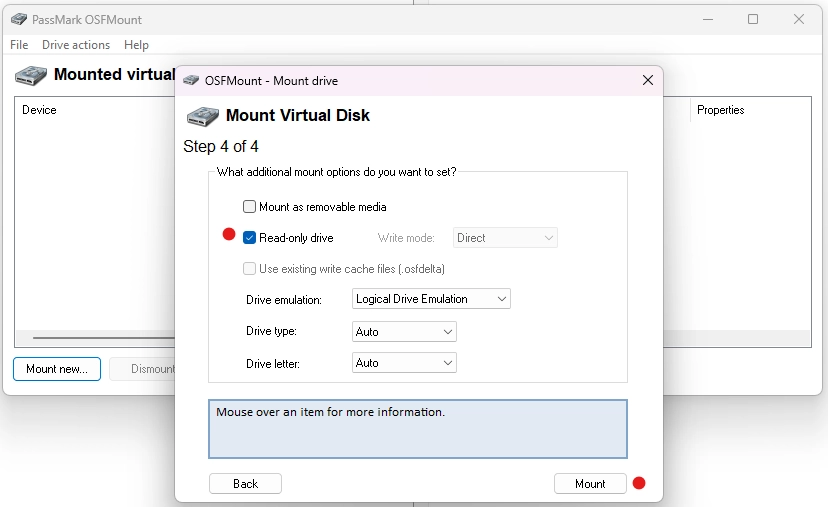
Step 5:
Access the Virtual Drive
Open File Explorer and look for the newly assigned drive letter.
You can now browse, copy, or interact with the contents of the .IMG or .BIN file.
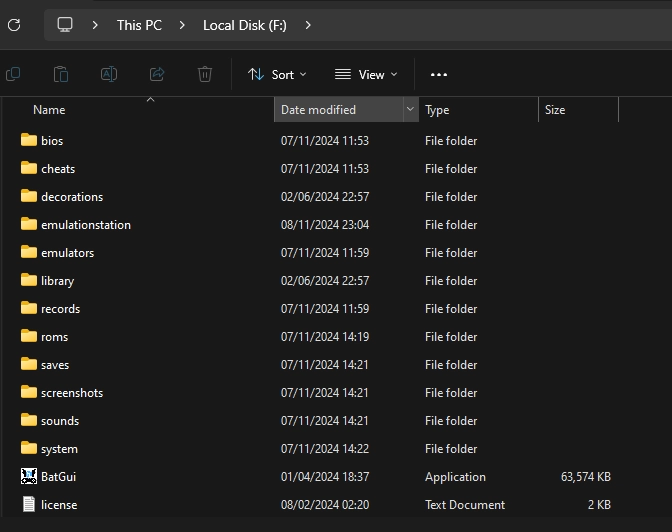
Step 6:
You can now interact with the IMG as if it were a physical device, this allows you to COPY the contents from the .IMG / .BIN to your Device.
Depending on the Image make sure that you Device is formatted correctly before copy over the contents top your device.
You can select the contents and copy in full or partially copy the contents.
I would also recommend to use: FastCopy to mirror the content to your device.
Unmount Drive:
Unmount the Drive
Open OSFMount.
Select the mounted image from the list.
Click Dismount to remove the virtual drive safely.


